How panic bar is installed on door
BySubhash Kumar
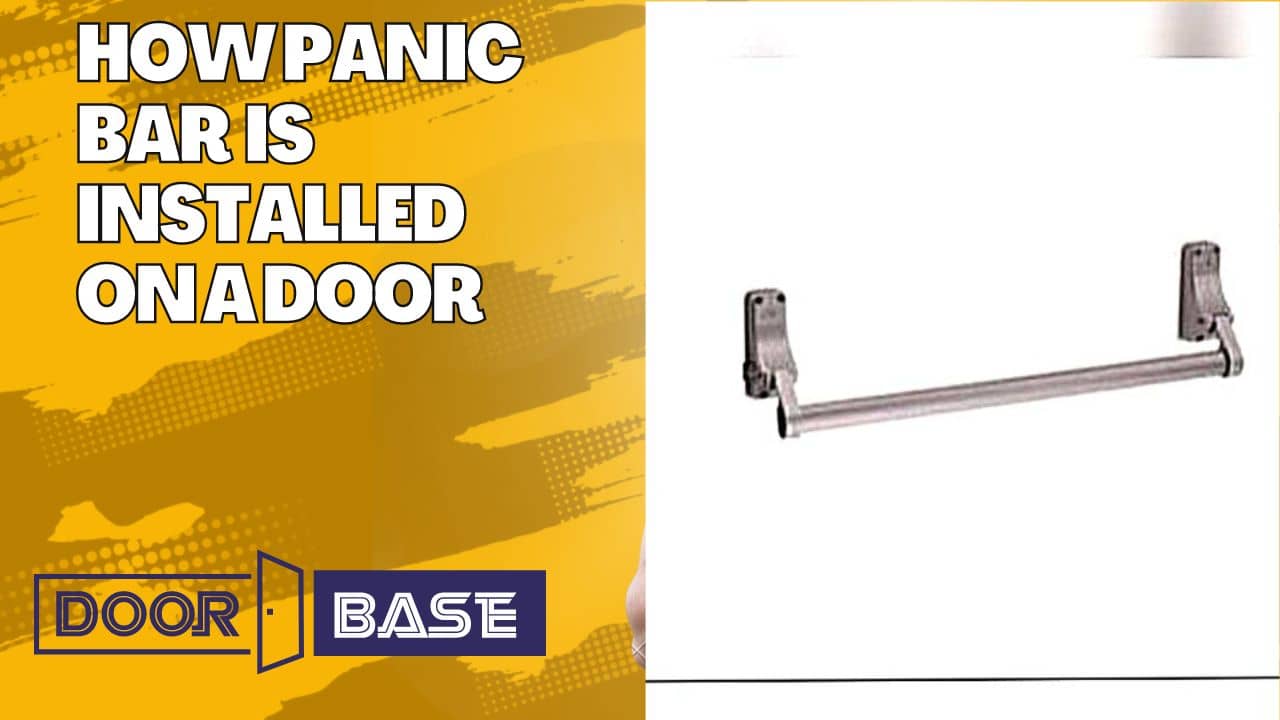
A panic bar, also known as a push bar or crash bar, is a device installed on an exit door to allow people to quickly and easily exit a building in case of an emergency. Installing a panic bar is an important safety measure that can prevent injury or loss of life during a panic situation.
Here are the steps for installing a panic bar:
- Choose the right panic bar: Panic bars come in different sizes and styles, so it's important to choose one that fits the door properly and meets the relevant safety standards.
- Prepare the door: Remove any existing hardware from the door and clean the surface where the panic bar will be installed.
- Measure the door: Before installing the panic bar, measure the width and height of the door to ensure the bar will fit properly.
- Install the panic bar: Attach the panic bar to the door using the provided screws and bolts. The exact installation process will vary depending on the type of panic bar being installed, so be sure to follow the manufacturer's instructions carefully.
- Install the strike plate: The strike plate is the metal plate that the panic bar latch engages with when the door is closed. Install the strike plate according to the manufacturer's instructions.
- Test the panic bar: Once the panic bar is installed, test it to ensure it opens smoothly and locks securely.
- Add signage: Install signage above and on the door to indicate that the exit is for emergency use only and to identify the door as an exit.
It's important to note that panic bars should only be installed by trained professionals who have experience with this type of hardware. Improper installation can result in the panic bar not functioning properly, which can be dangerous in an emergency situation.
Panic bar can be installed on metal and wooden and aluminum doors easily. For more blogs click on

Subscribe for discounts and offers